Create excursion
Follow the steps: Administration > Excursions > Tours, Excursions, Restaurants and click on the New Tour button.

This will then open the master data Tour with the relevant fields to be filled in:
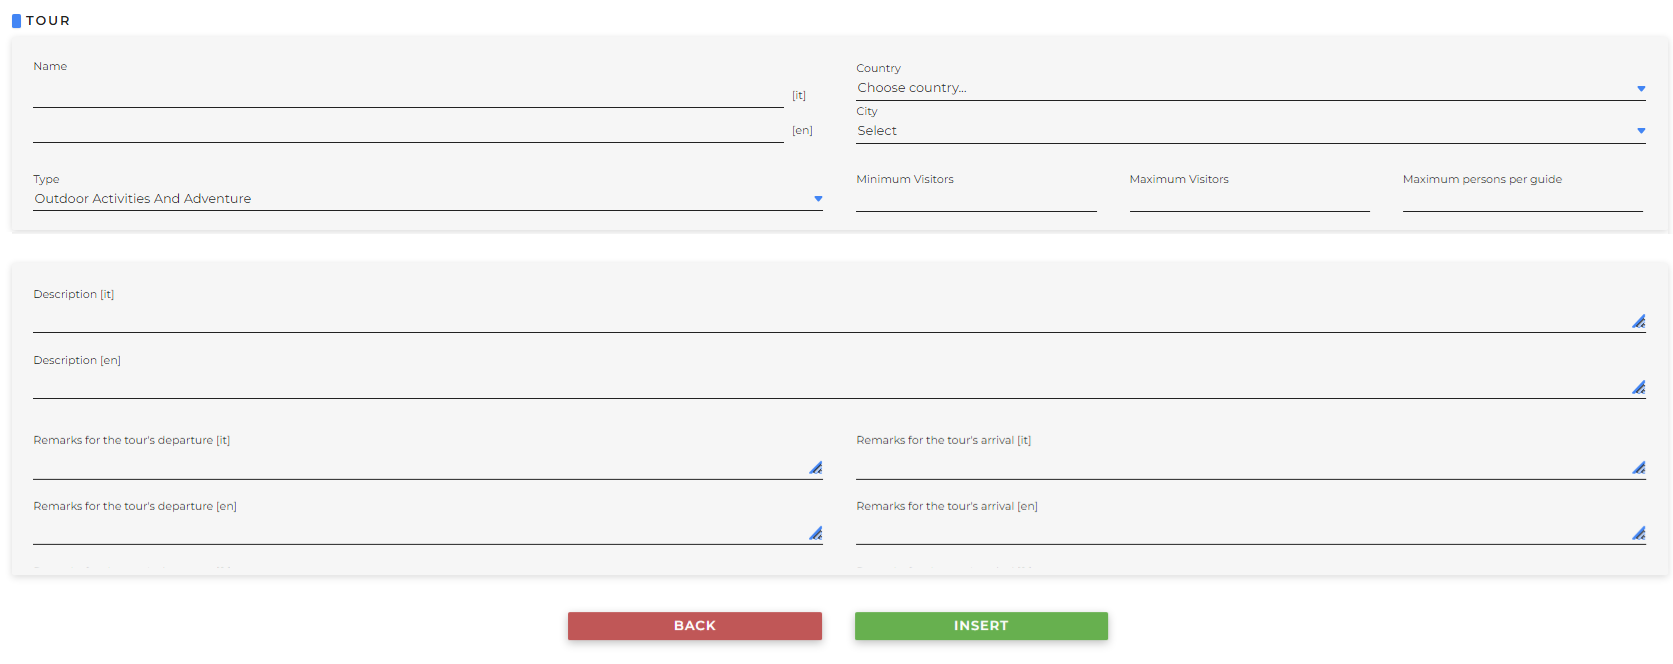
- Name: that you want to give to the excursion
- Country
- City
- Type: allows you to choose the type of the excursion from the drop-down menu
- Minimum Visitors
- Maximum Visitors
- Maximum persons per guide
- Description
- Remarks for tour's departure
- Remarks for tour's arrival
Click on Insert to save the data entered.
From the home screen you can search for an already entered tour by:
- Agreement ID
- Status:
- Active
- Inactive
- All
- City
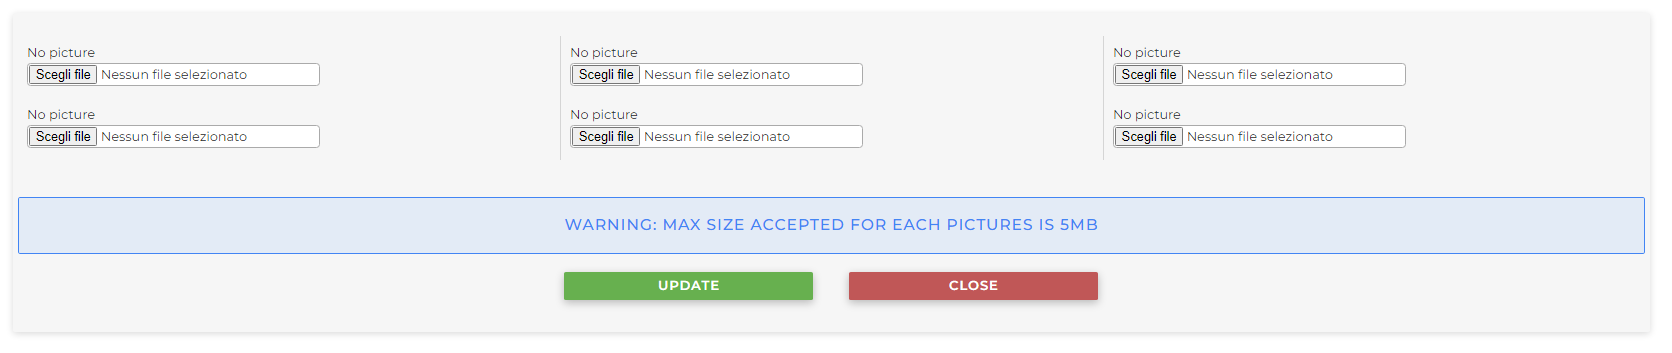
From the search results, you can edit the excursion:
 This will open the screen with the master data already filled in with, at the bottom, the following buttons:

- Pictures: here you can upload images related to the excursion
- Documents: here you can upload documents (such as a descriptive flyer)

- Activity Include: this is a text field where you can specify what is included from the fee
.png)
- Itinerary: it is possible to define any stages and their relative duration

- Additional Fields: possibility to enable or disable previously created Additional Fields

Click on Update to save the entered information.